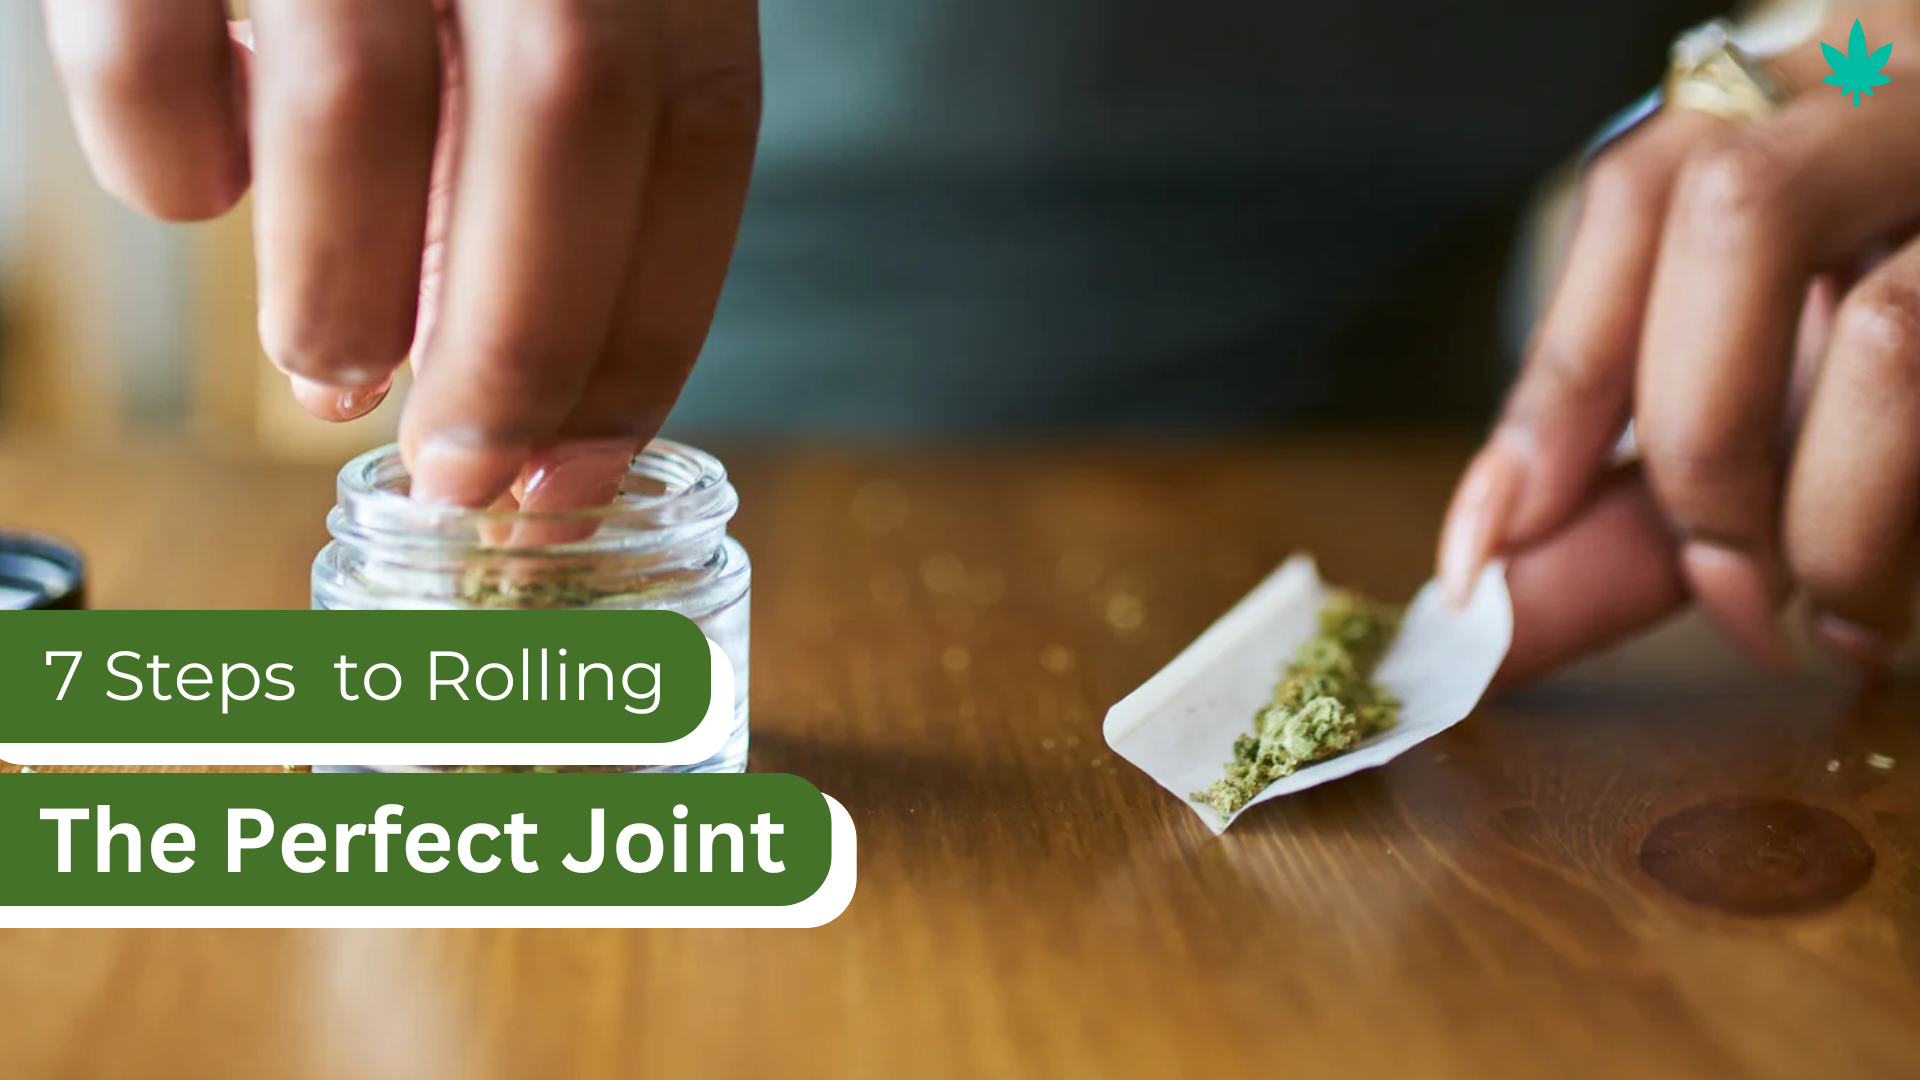
Step 1: Gather Your Supplies
Before you begin rolling, gather all the necessary supplies. You’ll need rolling papers, a grinder to break down your weed, a filter or crutch (optional), and a flat surface to work on. Ensure that your rolling papers are of good quality and free from tears or wrinkles.
Step 2: Grind Your Weed
Using a grinder, break down your weed into smaller, uniform pieces. Grinding your weed ensures that it burns evenly and smoothly, resulting in a better smoking experience. Aim for a consistency that is neither too fine nor too coarse, as this will help your joint burn evenly.
Step 3: Prepare Your Rolling Paper
Hold the rolling paper between your thumb and index fingers with the adhesive strip facing upward. If you’re using a filter or crutch, place it at one end of the rolling paper, leaving a small gap between the filter and the edge of the paper.
Step 4: Fill Your Joint
Step 5: Roll the Joint
With your thumbs and index fingers, begin rolling the paper back and forth between them to pack the weed into a tight cylinder. Once the weed is packed evenly, tuck the unglued edge of the rolling paper under the weed, forming a cylinder with one end open.
Step 6: Seal the Joint
Using your thumbs and index fingers, continue rolling the joint until the open edge of the rolling paper is tucked tightly against the weed. Lick the adhesive strip on the rolling paper and seal the joint by pressing the glued edge against the paper.
Step 7: Finish and Enjoy
Once the joint is sealed, use a pen or similar object to gently pack down the weed and ensure a tight, even burn. Trim any excess paper from the end of the joint, and twist the open end to seal it shut. Your joint is now ready to be smoked!
Finding the Best Weed Strains
Another option is to do your research online. Websites such as Leafly and Weedmaps provide comprehensive databases of cannabis strains, complete with user reviews, strain descriptions, and recommendations. You can use these resources to explore different strains and learn more about their unique characteristics.
Rolling the perfect joint is a skill that takes time and practice to master, but with the right technique and a little patience, anyone can learn to roll like a pro. By following these seven simple steps and experimenting with different strains, you’ll be well on your way to rolling the perfect joint every time. So gather your supplies, grind your weed, and roll up – it’s time to enjoy the fruits of your labor and savor the unique experience of smoking a perfectly rolled joint.
Frequently Asked Questions
Rolling a joint might seem daunting at first, but with practice and patience, it can become quite simple. Our guide breaks down the process into 7 easy-to-follow steps, making rolling a joint accessible to beginners and seasoned enthusiasts alike.
The time it takes to roll a joint using our guide can vary depending on your level of experience and comfort with the process. Generally, it should take no more than a few minutes once you’ve mastered the steps outlined in our guide.
Absolutely! Our rolling method provides a solid foundation for rolling the perfect joint, but feel free to customize it to suit your preferences. Whether you prefer a tighter or looser roll, or want to experiment with different filter sizes, our guide offers flexibility to accommodate your needs.
It’s normal to encounter challenges when rolling a joint, especially when you’re just starting out. Our guide includes troubleshooting tips to help you overcome common issues like uneven rolls or tears in the paper. Remember, practice makes perfect, so don’t get discouraged if you don’t nail it on your first try!


